 SumiCAD
Model a house, step by step
This page builds a small house from an empty project: walls, a room, a door, a window and a roof — then a look at the result in 3D. Start with File › New project Ctrl+N.
Stories and levels
A new project starts with a ground floor: 1F · 1FL ±0 (GL+500) — the floor level (FL) is ±0 and the
ground line (GL) sits 500 mm below it. Switch stories in the Views map or from the story control
in the status bar; a two-story house shows 2F · 2FL +2,850 GL+3,350.
Grid and module
Plans are drawn on the traditional 910 mm module — the status bar shows Module 910, and the snap grid defaults to 455 mm (half a module). Grid lines are numbered along the axes (X1, X2… and Y1, Y2…) so columns and dimensions stay on the module. The Grid and Objects toggles in the status bar control snapping.
Walls
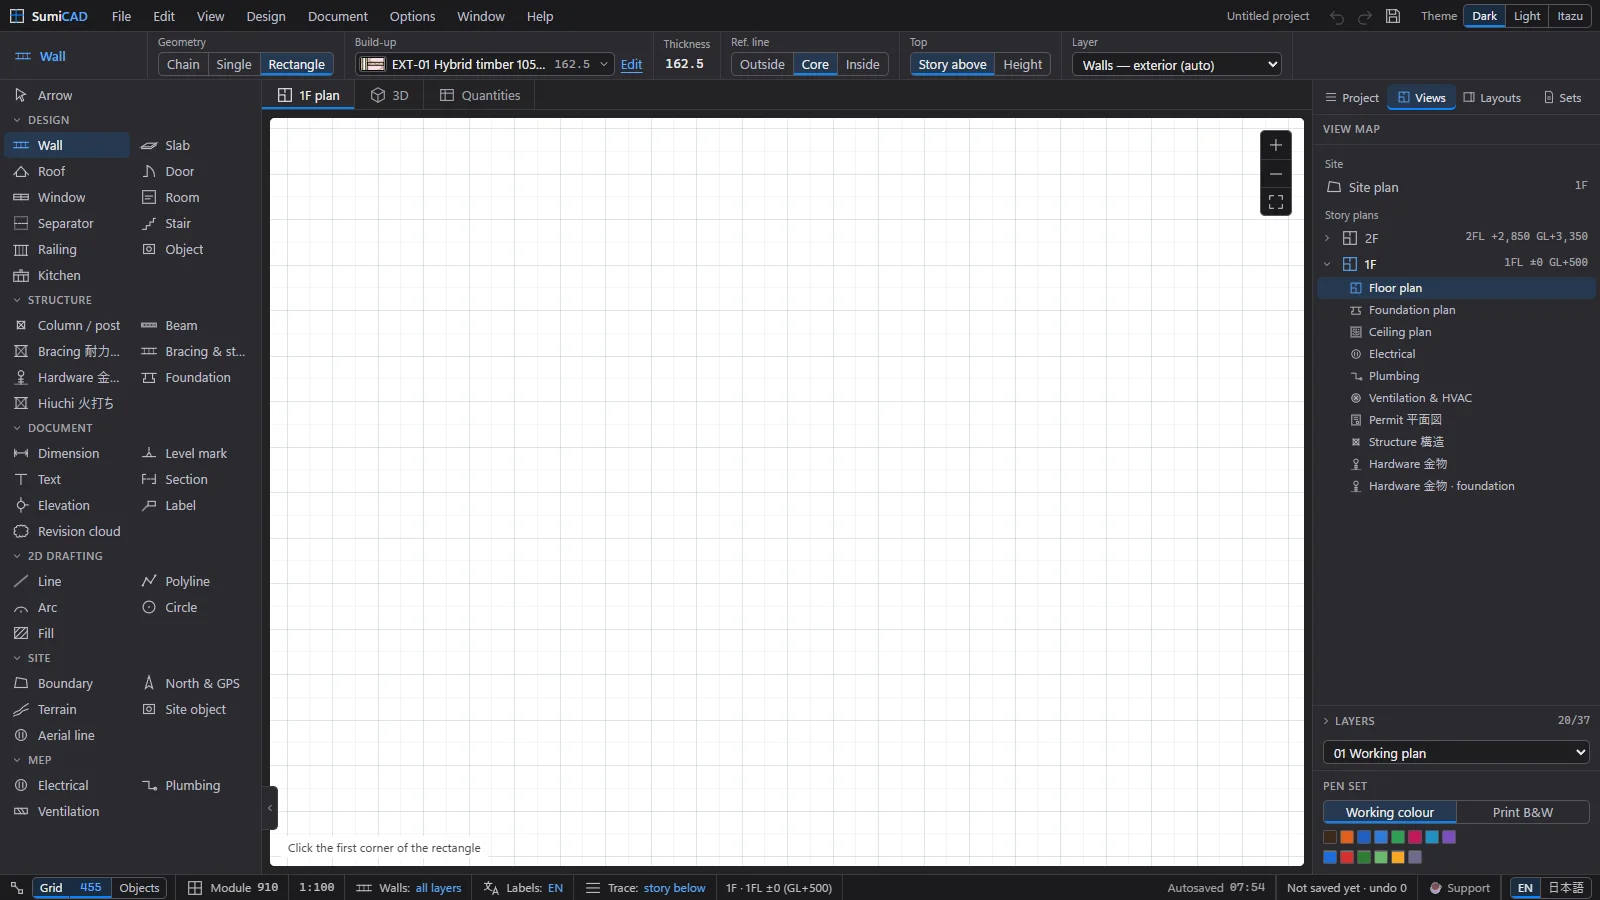
- Click the Wall tool (shortcut W).
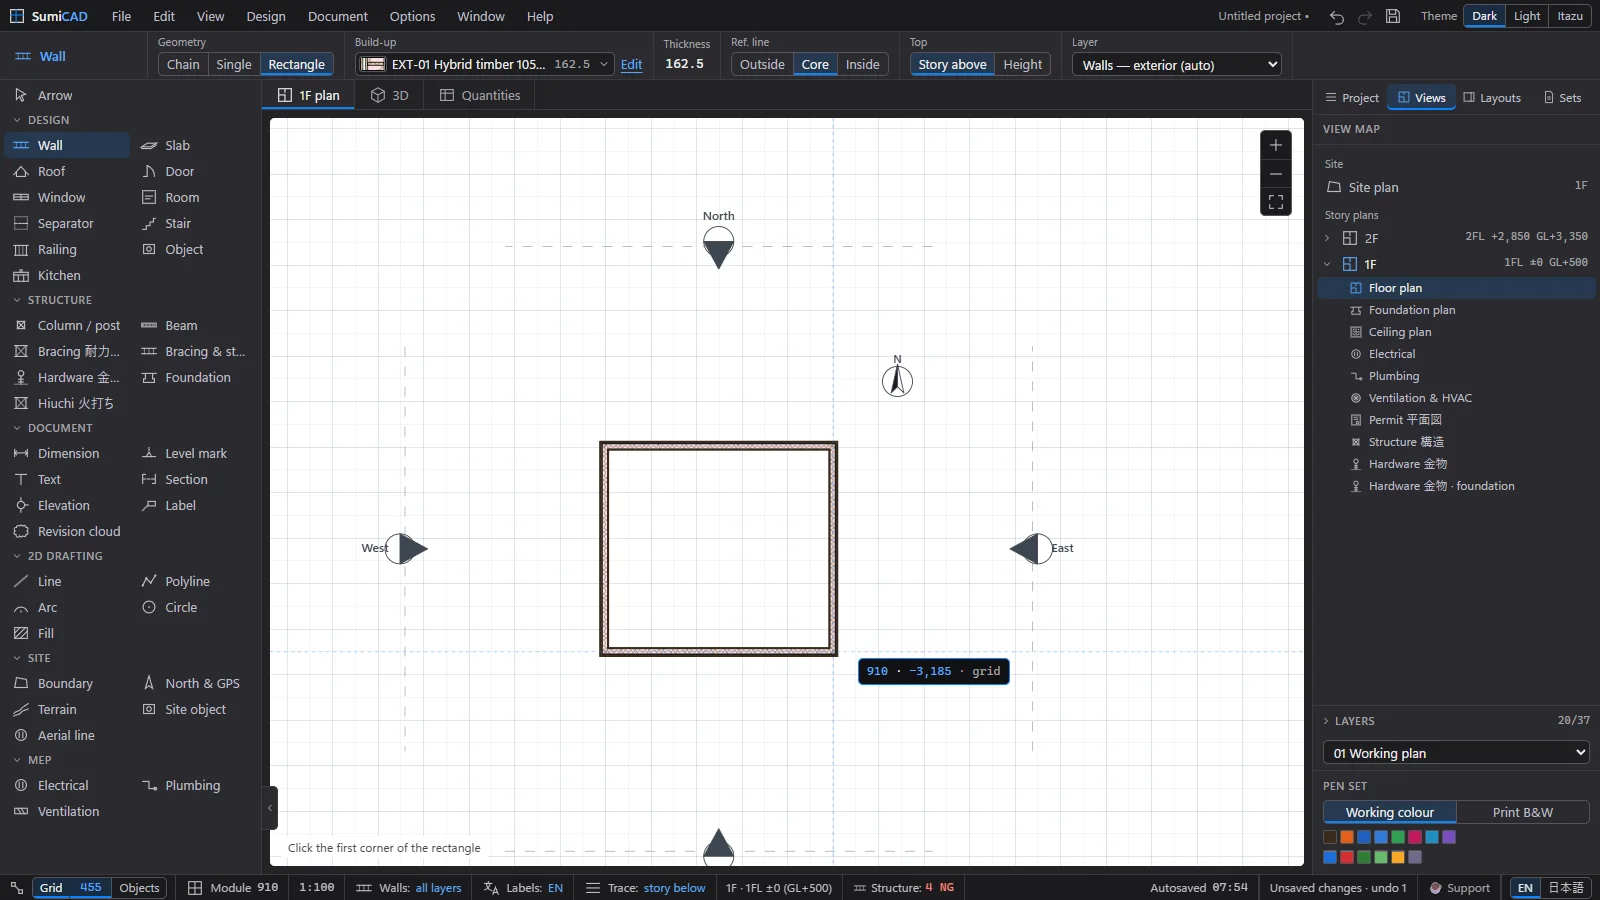
- In the Info Box, choose the geometry — Chain (wall after wall), Single, or Rectangle —
and the build-up, for example
EXT-01 Hybrid timber 105…. Edit… opens the build-up: drag a layer's grip to reorder the layers. - Click the start point, move, and click the next points. The tracker shows the length — or just type the value, Tab, Enter.
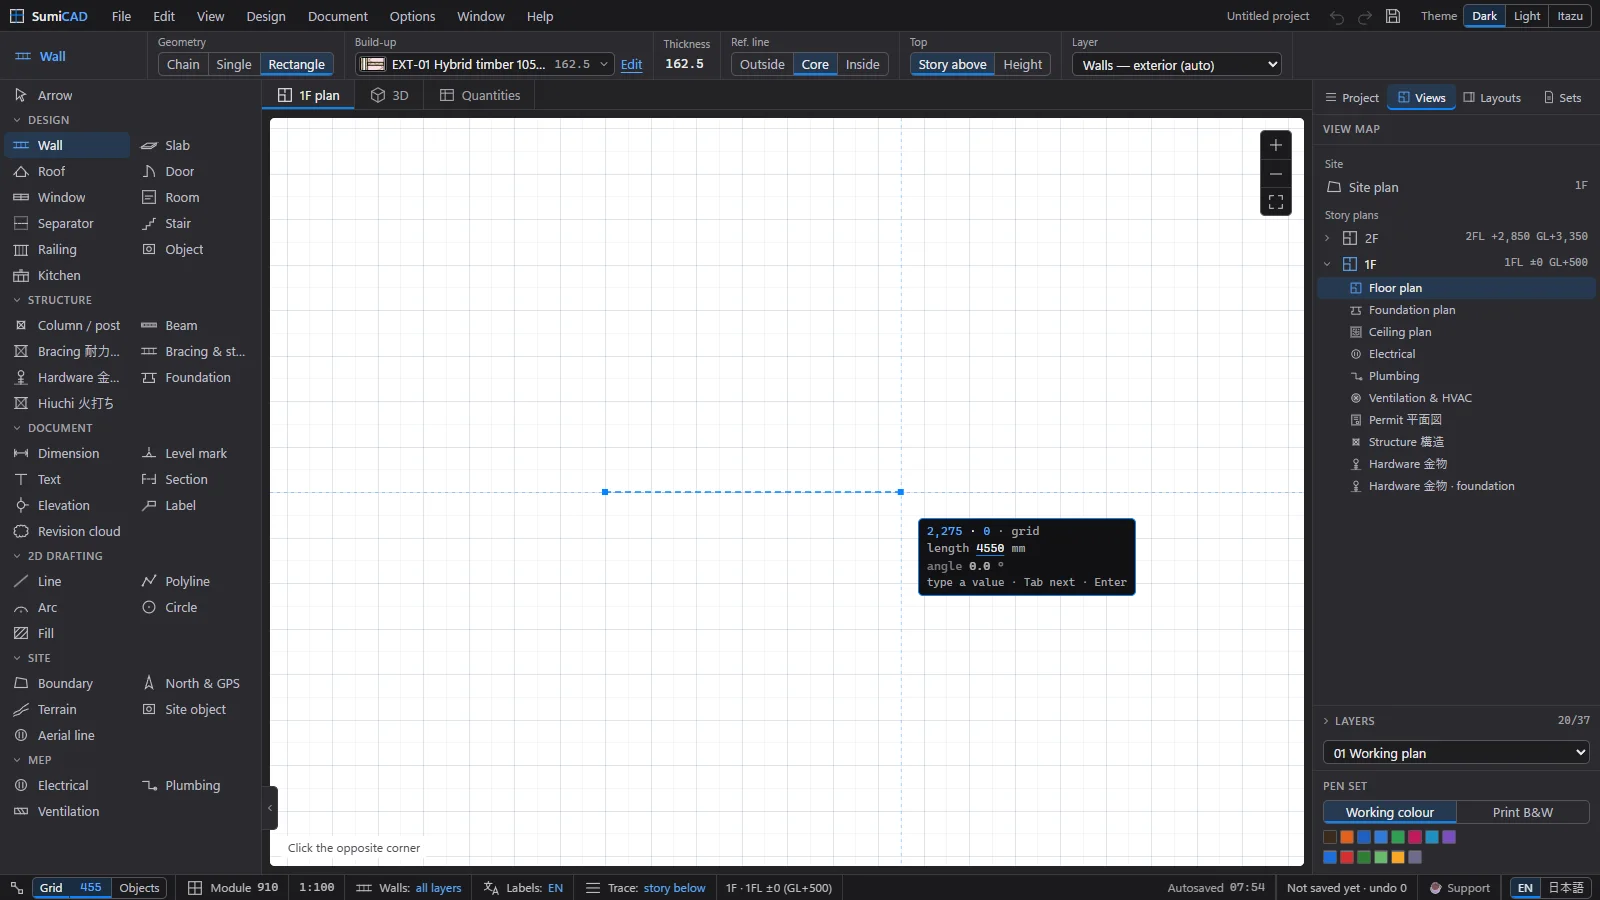
With Rectangle, drag from one corner to the opposite corner and the four walls are drawn at once:
Tips: Space+click inside a closed outline draws walls around a room; the hint line above the status bar always shows the options of the active tool.
Rooms
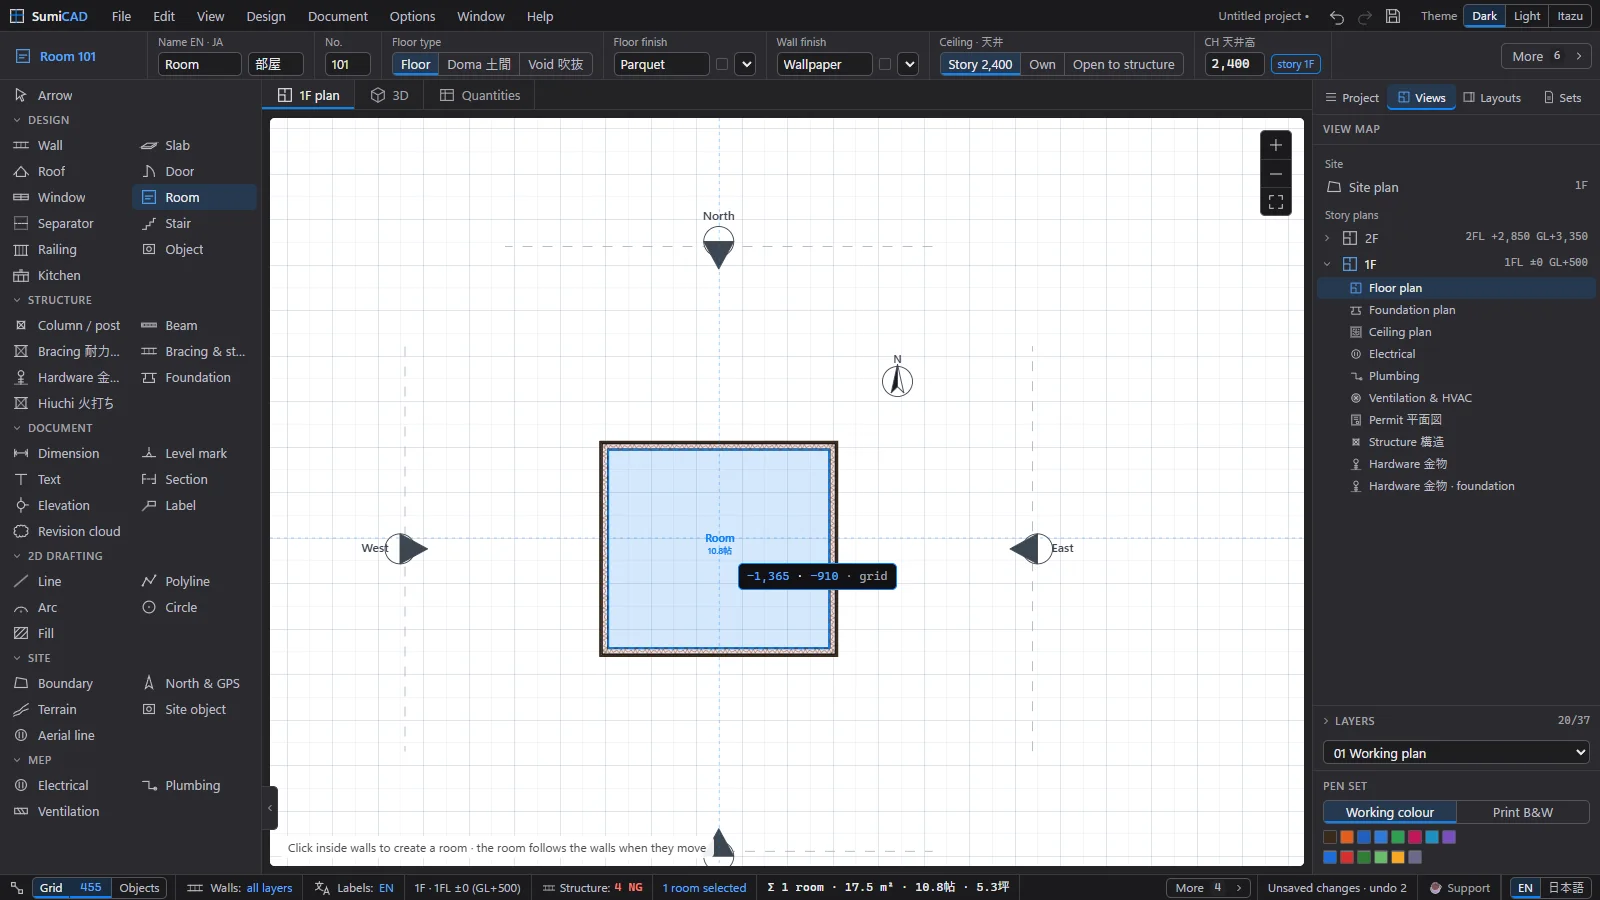
Click the Room tool (Z), then click inside a closed outline: the room appears with its name and floor area in 畳 (and m²). Rename it in the Info Box — the name prints on the plan.
Doors and windows
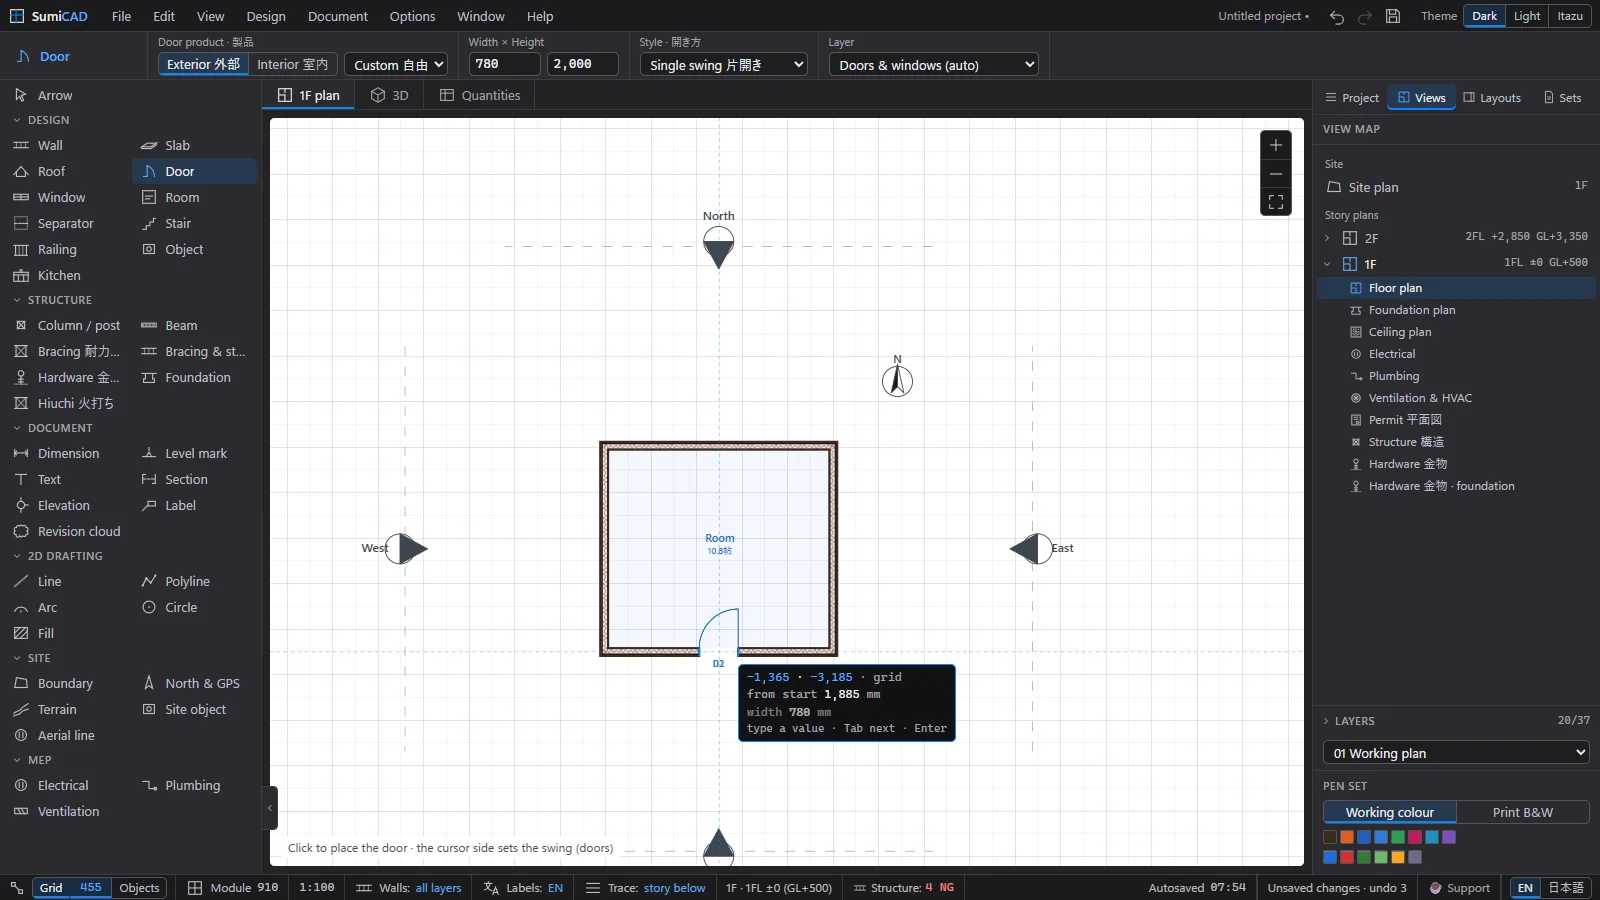
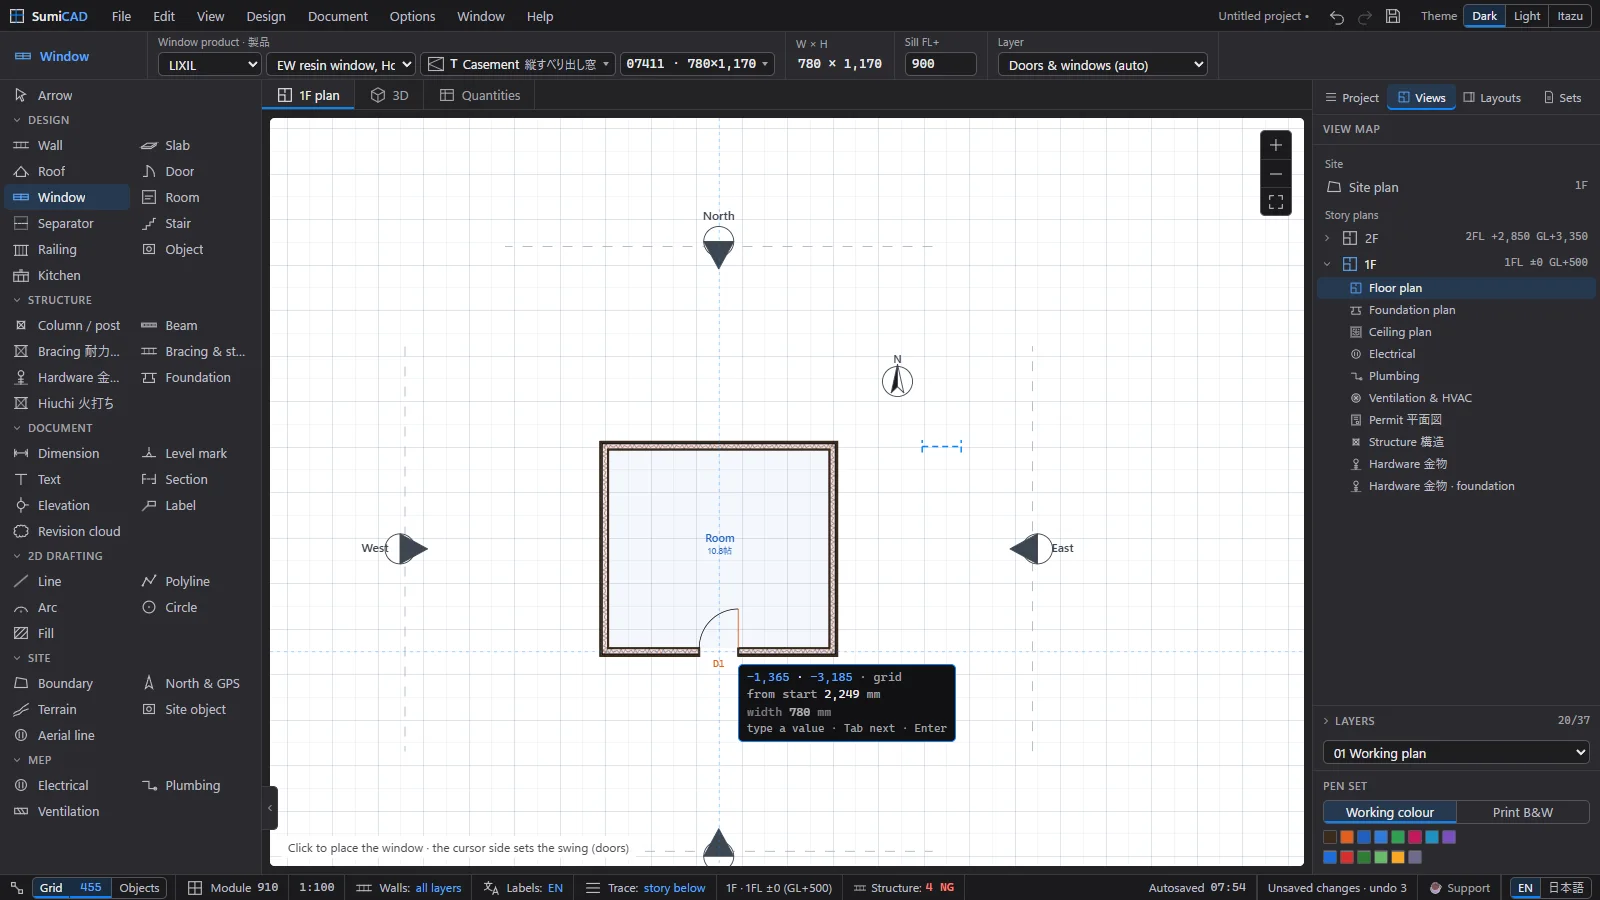
Click the Door tool (D) or the Window tool (N), then click on a wall where the opening
goes. Doors and windows are tagged (D1, W1…) for the schedules, and View › Door sizes on plan
shows their sizes next to each opening.
Slabs and floors
The Slab tool (S) draws floor slabs the same way as walls: click the corners of the outline. Rooms report their finishes, and the ceiling height (for example 2,400 from the finished floor) is a room setting.
Roof
- Click the Roof tool (R).
- Click the corners of the roof outline; double-click (or click the first point again) to finish.
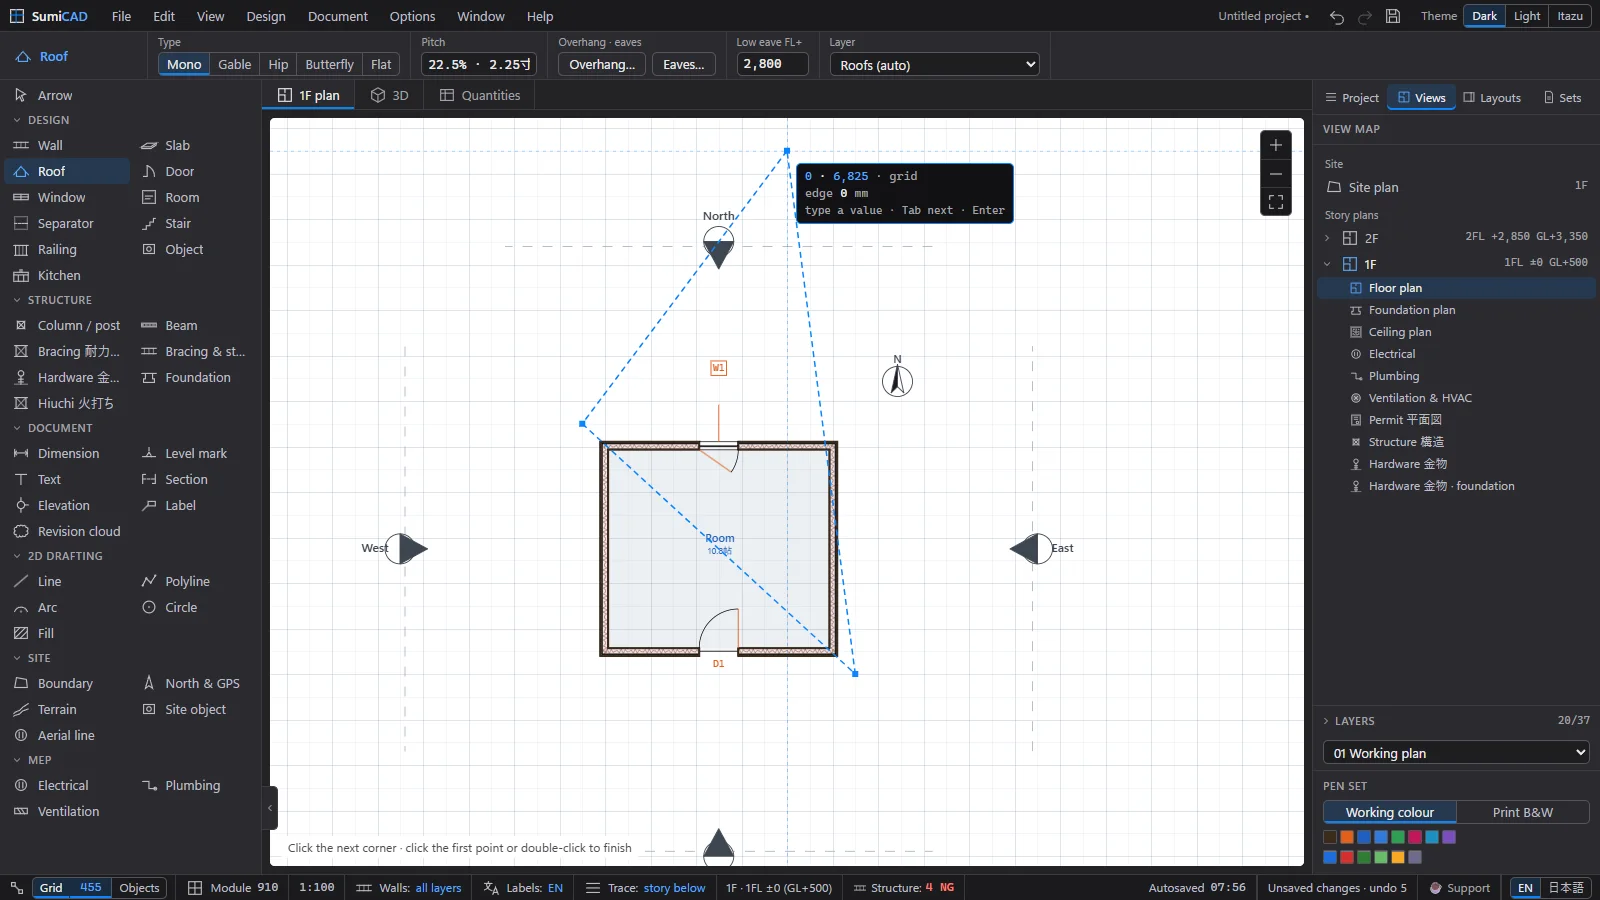
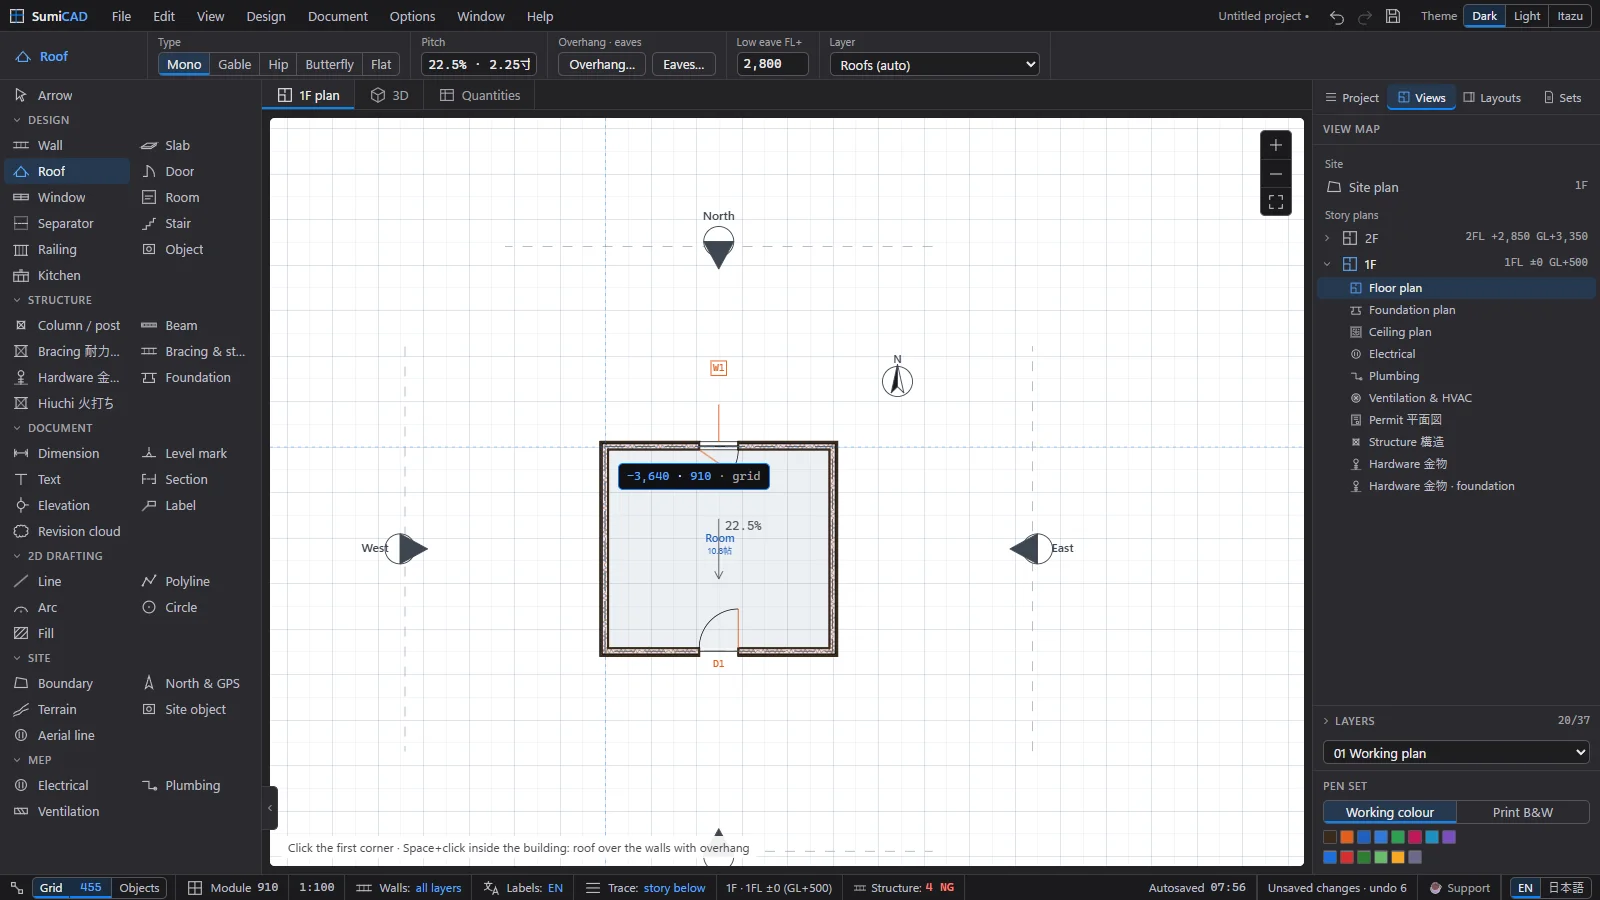
- In the Info Box, set the type — Mono, Gable, Hip, Butterfly, Flat — the pitch
(
22.5% · 2.25寸), and the Overhang… and Eaves… settings (per side), plus the low-eave height (FL+ 2,800).
Stairs, railings and objects
The Stair tool (I) places a stair between stories, Railing draws handrails, and Object places furniture and equipment (unit baths, and more). For kitchens and wardrobes see Kitchen & wardrobe.
Check the model in 3D
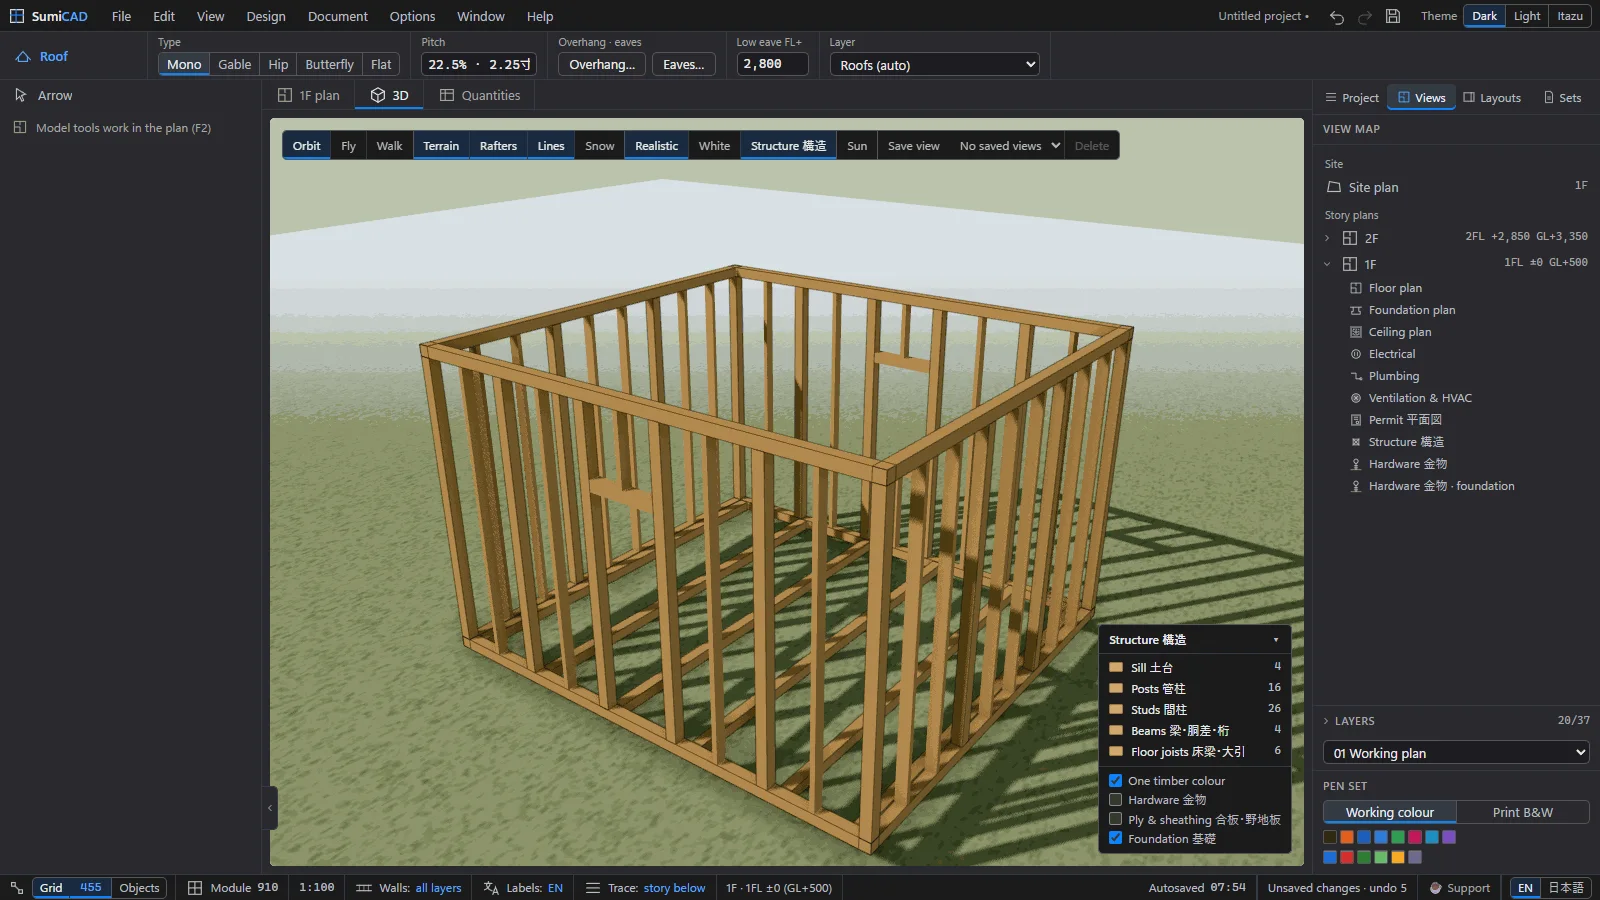
Open the 3D tab. Choose Orbit, Fly or Walk, and a display style: Realistic, White, or Structure 構造 for the timber frame. Terrain, Rafters, Lines, Snow and Sun control the scene; Save view keeps a viewpoint for later.